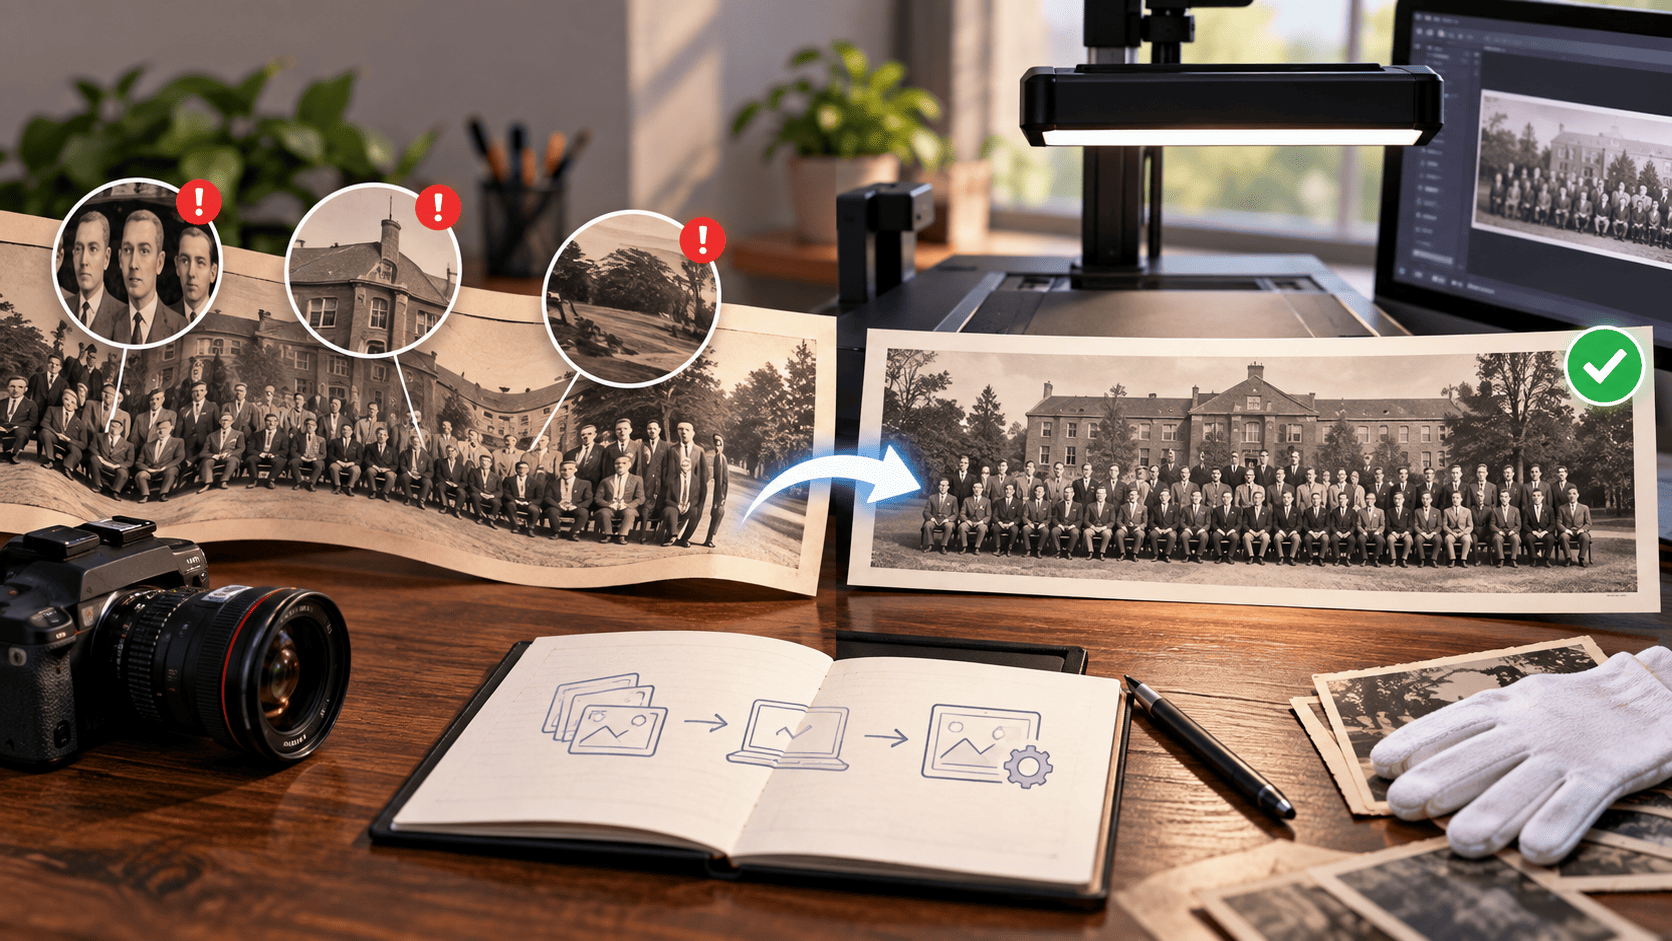
Have you ever wondered why panoramic photos sometimes stretch faces, repeat people, or show mismatched edges?
These glitches occur when image-stitching software like PTGui, Hugin, PhotoStitcher, etc combines overlapping views that don’t line up correctly.
When the subject moves or the camera angle shifts, it’s harder to line things up, leading to mismatched details instead of a seamless image.
This eRecordsUSA guide explains panoramic photos gone wrong, practical fixes, and related challenges like digitizing oversized class photographs, military group portraits, and family panoramas.
For these physical prints, the goal is a faithful digital copy that preserves the complete image without compromising the original.
TheNational Archives’ digitization guidance emphasizes careful handling whether you copy photographs yourself or use a professional service.
Understanding the difference between capturing a panoramic scene and copying an existing photograph is the starting point for choosing the right approach
Panoramic Photos Gone Wrong: What Do the Fails Look Like?
To inspect a panorama, look beyond the overall scene. Follow the outlines of people and objects, then check whether long edges remain continuous across the photograph.
These details help distinguish an obvious mismatch from an unusual but valid panoramic perspective.
Stretched People, Pets & Repeated Body Parts
Look for shapes that could not belong to a single intact subject.
Example: A dog with an impossibly long torso or a group portrait in which someone’s arm ends abruptly.
Inspect the affected area at full size. Compare the outline with nearby details: does only the subject look unusual, or does the surrounding background also appear displaced?
Broken Lines & Misaligned Backgrounds
Follow a fence, roofline, or pavement edge from one side of the photograph to the other. An abrupt jump, disconnected segment, or overlapping outline gives you a specific area to examine.
However, a curved line alone does not prove that a panorama failed. TheLibrary of Congress’ panoramic photography guide shows how a straight street can appear curved in a historical panoramic photograph.
Why Do Panoramic Photos Go Wrong?
Panorama failures can involve three separate problems:
-
The Subject Moves During Capture
A swept panorama records different parts of a scene at different moments. When someone changes position between overlapping captures, the software receives conflicting information about where that person belongs.
The stationary background may still align correctly, while the moving subject does not.
-
Camera Movement Changes the Alignment
Shifting the camera sideways changes its viewpoint; not just the direction the lens faces. Nearby objects then appear to move relative to distant scenery, an effect called parallax.
Because foreground and background details shift by different amounts, an adjustment that aligns one part of the scene may leave another out of position. The challenge is therefore more complex than simply sliding two photographs together until their edges meet. Large parallax is a recognized difficulty in panoramic image alignment.
-
Lighting & Exposure Change Between Images
Overlapping images also need compatible brightness. Changes in illumination or exposure can make the same area appear lighter in one capture than another. Matching the geometry alone does not resolve that difference.
Consistent lighting matters even in carefully planned photography.
For a panorama captured in 2019, NASA restricted Curiosity’s imaging to noon through 2 p.m. local Mars time each day to maintain similar lighting. Itspanorama capture process illustrates why illumination is a separate consideration from image alignment.
Can You Fix a Panoramic Photo Gone Wrong?
Some panorama errors can be corrected, but the repair options depend on whether you have the original overlapping photographs or only the finished image.
Start by checking which files are available before deciding whether to edit or retake the photograph.
Which Problems Can Editing Improve?
- Cropping can remove an uneven outer border, provided it does not cut away important content.
- Modest brightness and contrast adjustments can improve visibility, although excessive adjustments can erase highlight or shadow detail.
- For a panorama assembled from separate photographs, try rebuilding it from those source files with revised alignment or blending settings.
Treat this as a repair attempt; not a guaranteed fix.
When is Retaking the Photo the Better Option?
Retake the photograph when an essential detail is missing or unusable in every available source image. Copying pixels from elsewhere may conceal the defect, but it does not verify what belonged there.
explains how retouching can appear seamless while changing an image’s content.
A convincing edit is not necessarily an accurate record. When another capture is possible, prioritize recording the subject again over inventing its appearance.
How Can You Avoid Panorama Fails?
Prepare the full sweep before pressing the shutter. Choose your starting and ending points, settle into one position, and check that you can cover the intended view without stepping sideways.
Use these practical checks for your next photograph:
- Control the camera’s movement. Keep it level and turn smoothly from a stable position. For more controlled work, consider a tripod with a suitable panoramic head.
- Choose a quiet moment. Ask a posed group to remain still until capture finishes. For a busy walkway, wait for people to pass before starting; a practical precaution given the challenges that moving objects create for stitching.
- Wait for steady lighting. Avoid beginning while clouds are rapidly changing the illumination. Aim to complete the sequence under consistent conditions.
- Check the saved result before leaving. Open the completed panorama rather than relying only on the capture preview, especially when photographing a scene you cannot easily revisit.
Can You Use Panorama Mode to Scan an Old Panoramic Photo?
Panorama mode may produce a reference copy, but a wide print does not automatically make it the right digitization method.
Base your choice on the details you need to preserve and the original’s handling requirements.
Start With the Purpose of the Digital Copy
For an oversized class photograph or military group portrait, decide what viewers must be able to distinguish:
- Individual faces,
- Handwritten names, or
- Details needed for family research.
A recognizable overview may serve casual sharing, but it should not be your only requirement when close examination matters.
When your available setup cannot capture those details adequately, consider professional assessment rather than choosing another phone mode simply because it accommodates a wider view.
Consider the Original’s Size and Condition
The physical photograph deserves as much attention as the digital result because of its fragile properties.
eRecordsUSA’sphoto scanning services cover panoramic prints and oversized photographic materials. Our preparation process includes inspecting originals for fragility, format, and handling needs to help determine an appropriate scanning approach.
How Should Oversized Panoramic Prints Be Digitized?
For an existing panoramic print, the below-given three practical project requirements help you evaluate the result rather than relying on a provider’s resolution settings alone.
Request Complete Coverage of the Original
Ask for the full photograph, including its original borders and any writing along the edges. Specify whether handwritten notes on the reverse also need a separate capture.
When the print requires multiple captures, ask how the sections will be combined and checked for omitted or duplicated content.
The final reproduction should retain the original arrangement, not reshape the photograph to fit a preferred display size.
Review a Sample Before Approving the Collection
For a collection, request a sample scan before proceeding with the remaining photographs.
Compare it directly with the original, examining detail across the center and both ends, not just the overall appearance on a small screen.
Check that the file opens correctly and supports your intended use. Agree on how incomplete captures, uneven sharpness, or other discrepancies will be addressed before accepting the finished files.
Specify Master Files and Sharing Copies
Request a high-quality master file for retention and separate, smaller copies for everyday viewing or sharing.
Agree on file formats and naming conventions so each digital image remains identifiable within the collection.
Keep restoration or cosmetic editing separate from the faithful reproduction. When edits are requested, retain the unaltered capture rather than replacing it.
For an eRecordsUSA panoramic photo scanning project, include these requirements in your brief so the expected coverage, review process, and deliverables are clear from the outset.
FAQs About Panoramic Photos and Digitization
Will Printing a Distorted Panorama Fix It?
No. Printing alone reproduces the image; it does not repair its contents. Treat correction and printing as separate tasks, and approve the corrected file before ordering a print.
Should I Remove a Panoramic Photograph From Its Frame Before Scanning?
Arrange an assessment first rather than dismantling the frame automatically. Share a photograph of the frame and ask whether the original should remain in place, particularly when its mounting or condition is uncertain.
Should I Flatten a Rolled Panoramic Photograph Before Scanning?
Do not force a tightly rolled photograph flat. Assess its condition first and determine whether it can be safely unrolled for scanning.