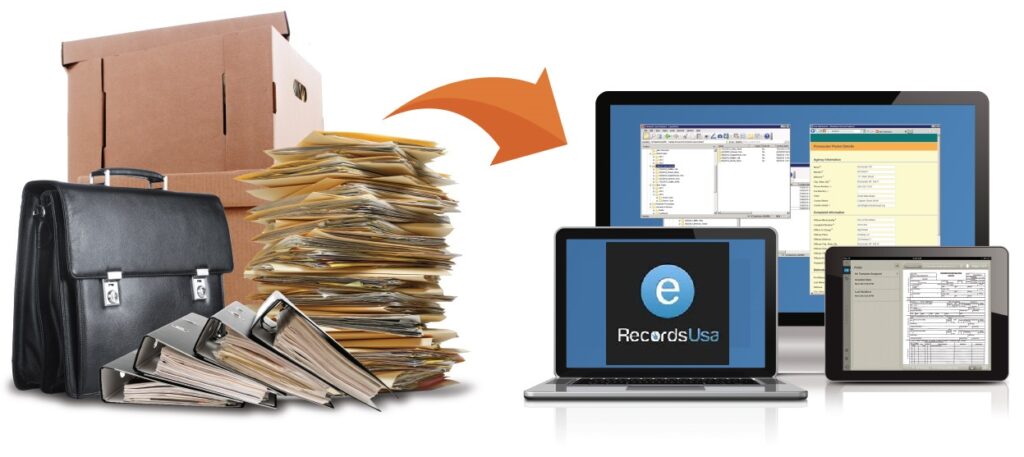
Digitally preserving 20th-century involves blueprint scanning or photographing them at high resolution (300 DPI or more), using archival-quality formats like TIFF, applying metadata, and storing them securely with regular backups. Large-format scanners, flatbed scanners, or non-contact digital photography are common methods based on blueprint condition and size.
The 20th century marked an era of groundbreaking innovation, producing countless architectural and mechanical blueprints. These documents are more than technical plans—they are historical records, reflecting the evolution of design, engineering, and culture.
Unfortunately, their physical form makes them vulnerable to fading, tearing, and decay. Digital preservation is the key to protecting these invaluable assets. This guide walks you through the most effective methods and best practices for digitizing and preserving 20th-century blueprints.
Why Digitize Blueprints?
Digitizing blueprints offers a host of benefits that go far beyond just backup. It ensures longevity, improves accessibility, and enhances usability.
Key Benefits:
-
Preservation: Protects against fading, tearing, water damage, and other forms of physical degradation.
-
Accessibility: Enables instant sharing and collaboration across locations.
-
Searchability: Allows keyword searches within documents, saving time and effort.
-
Restoration: Damaged or faded blueprints can be digitally enhanced and restored.
-
Cost-Effectiveness: Digital storage reduces physical archiving expenses.
Methods for Digitizing Blueprints
Different digitization techniques suit different types of blueprints. Here’s an overview:
1. Flatbed Scanning
-
Ideal for: Smaller or less fragile blueprints
-
Pros: High-resolution output at low cost
-
Cons: Time-consuming; may damage fragile blueprints
2. Large-Format Scanning
-
Ideal for: Oversized or thick documents
-
Pros: Fast and efficient for large blueprints
-
Cons: Expensive equipment required
3. Digital Photography
-
Ideal for: Extremely delicate or damaged documents
-
Pros: Non-contact method; minimal handling
-
Cons: Requires photographic expertise; prone to distortion if not done correctly
Step-by-Step Blueprint Digitization Process
Follow these six essential steps for reliable, high-quality results:
1. Assessment and Preparation
-
Inspect for tears, stains, or fading
-
Gently clean with a soft brush
-
Flatten using weights or a flattening table if needed
2. Choosing the Right Equipment
-
Match scanning method to blueprint size and condition
-
Use at least 300 DPI resolution
-
Calibrate devices for accurate color reproduction
3. Scanning or Photographing
-
Work in a clean, dust-free environment with good lighting
-
Use color targets for accurate color correction
-
Perform multiple scans at different settings for best results
4. Post-Processing
-
Crop, rotate, and straighten images
-
Adjust brightness and contrast
-
Remove blemishes with software like Adobe Photoshop
-
Save files in high-quality formats such as TIFF or JPEG
5. Metadata Tagging
-
Add details like title, date, creator, and keywords
-
Use consistent metadata schemas for organization and searchability
6. Storage and Backup
-
Store files securely on a server or cloud storage
-
Maintain multiple backups in separate locations
Recommended Tools and Software
Scanning Software:
-
Epson Scan
-
ScanSoft PaperPort
Image Editing Tools:
-
Adobe Photoshop
-
GIMP
Metadata Management:
-
ExifTool
-
Adobe Bridge
Cloud Storage Platforms:
-
Google Drive
-
Dropbox
-
Amazon S3
Best Practices for Long-Term Digital Preservation
-
Use Archival-Quality Formats: TIFF is the gold standard for lossless, long-term storage
-
Maintain High Resolution: Minimum 300 DPI to preserve fine detail
-
Data Migration: Regularly transfer files to newer media to prevent degradation
-
Disaster Recovery Plan: Ensure you have a documented plan in place
-
Access Control: Limit access to trusted personnel to avoid accidental changes
Insight
A study by the National Archives and Records Administration (NARA) reveals that digital preservation can extend the lifespan of documents by several centuries. Moreover, transitioning to digital archives can reduce physical storage costs by up to 80%, making it a financially sound solution.
FAQs
Q: What is the best resolution for scanning blueprints?
A: A minimum of 300 DPI is recommended for high-detail preservation and legibility.
Q: What file format should I use for long-term blueprint preservation?
A: Use TIFF for archival purposes due to its lossless compression. JPEG is suitable for quick viewing or web display.
Q: How do I clean blueprints before scanning?
A: Gently brush off dust and debris with a soft brush. Avoid water or chemicals to prevent damage.
Q: What if a blueprint is torn or fragile?
A: Consider using digital photography or consulting a conservator before attempting to scan.
Q: How often should I back up my blueprint archive?
A: Perform backups at least once a month and store them in a separate, secure location.
Conclusion
Digitizing 20th-century historic old blueprints is more than a preservation strategy—it’s a way to honor and safeguard our design heritage. By following the right techniques, using proper tools, and implementing best practices, you can ensure these vital documents remain intact, accessible, and usable for generations to come.

